Airship Badges
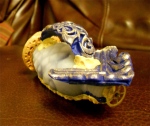
Here are some airship badges I made. I plan on making a bunch more and I might even make a short tutorial to go with it.
Here are some airship badges I made. I plan on making a bunch more and I might even make a short tutorial to go with it.


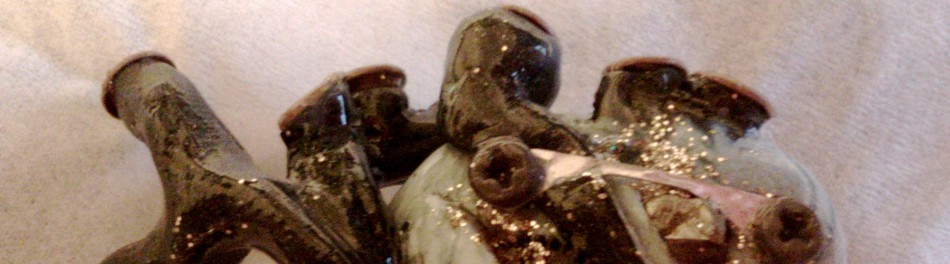
This is meant to be a wall piece. It came out a lot creepier than I had intended, but I do like it.

Your thoughts?
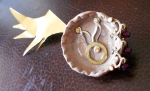
I made this from a clock kit and an old weird circle I found t Goodwill. I think I will do a lot more with clock kits soon.

Check out my Facebook page, I have uploaded many lovely photos there!
http://www.facebook.com/ventricles.apart.crafts
Well, here we go! Finally!

The first thing you need to do is gather your supplies. You will need to pick out the right kind of yarn or you will run into some problems trying to felt it together. Choose a yarn that is loose, fluffy and made mostly of wool. For the felting steps you will need to have at least one felting needle. I suggest having multiple needles in a needle felting tool. Also, these needles tend to be a tad fragile and you might break a few if you felt too roughly so have some backups. You will also need a felting pad or a stiff piece of foam for a needle felting surface.

1) Cut three lengths of yarn all the same size. I suggest they be at least your arm span. Loosely tie all three strands together. I tie my knots in the center of the strands. This is because it makes it easier to felt the loose ends together.

1a) Now loosely braid the strands together. Braiding them loosely makes it easier to needle felt.

Repeat the above steps a few times.
Tip: The longer and tighter you want your scarf to be depends on how many braids you make. Don’t worry though, if you find you want to add more later it is easily done.
2) Now it is time to begin needle felting. Start felting one end of a braid by placing it on a felting pad and stabbing it with the felting needles. Use short, straight, deft strokes and be careful not to bang the tip of the needle into anything hard like the bottom of your mat. Do this for the entire length of the braid and then turn the braid over and repeat. Doing both sides helps keep the yarn strands together tighter. The side opposite the felting needle becomes fuzzier and looser so it is a good idea to turn it over and felt there to make sure everything is tangled up nicely.
Repeat the above step for all of your braids.

3) This is an optional step. I was unsatisfied with the way my needle felted braids were holding together so I took the time to wet felt them together. I filled the sink with hot water and added some dish detergent. I then dunked my braids in the water and rolled them between my palms until the loose fibers on them were very matted together. When I was satisfied I rinsed the soap out with cold water and hung the braids to dry.

Tip: I wear gloves while wet felting because the soap and the felt dry out my hands. If your skin is sensitive I suggest you do the same.
4) This is when you decide the shape and length of your scarf. Lay out your braids flat on a table. Arrange them over each other so that they meet at intersections and create loops. Needle felt wherever the braids intersect. Make sure to needle felt both sides of the intersection as well. It is crucial that you needle felt these tightly or else your scarf will fall apart.

Tip: Test every intersection by tugging on it, if there is a lot of resistance from the felt it is a good sign that you have done it right.

Tip: To make my intersections extra secure, I needle felted on some extra wool roving to each side. That’s where the light blue on my scarf comes from. Not only does it add a bit of flair, it makes it stronger!
5) After needle felting all the intersections wet felt your entire scarf to reduce the fuzz from the needles and to make sure everything was well matted. To wet felt the whole scarf I filled the sink with hot water and added some dish detergent. I wetted the scarf with the water and rubbed and rolled the entire thing between my hands. When I was satisfied that the entire piece was well matted I rinsed out all the soap with cold water and laid my scarf out flat to dry.
Tip: Instead of wet felting your scarf by hand you can also put it through the washing machine on a hot wash and cold rinse cycle.
6) When your scarf has dried it is time to add decoration. You may sew on buttons, beads, add accents with colored thread, etc.

Tip: If you choose to sew on beads make sure they are sewed on as securely as possible. I suggest sewing on each bead individually and giving it its own knot.
Have fun and have patience!

If you make a scarf from this tutorial, or another piece inspired by it, I would love to see pictures! Thank you!

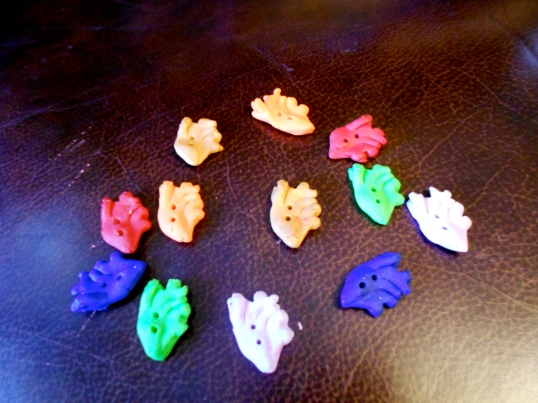
I made this resin heart from the mold I made the other day. I have some interesting ideas for combining resin castings and felt. I’m sure you will be seeing some of that quite soon. The other pieces in the picture came from a store bought mold that I bought last year. This was my first try using that too. I hadn’t intended to use it yet, but I had lots of left over resin from the heart. Are there any ways you would like to see me use these pieces?